
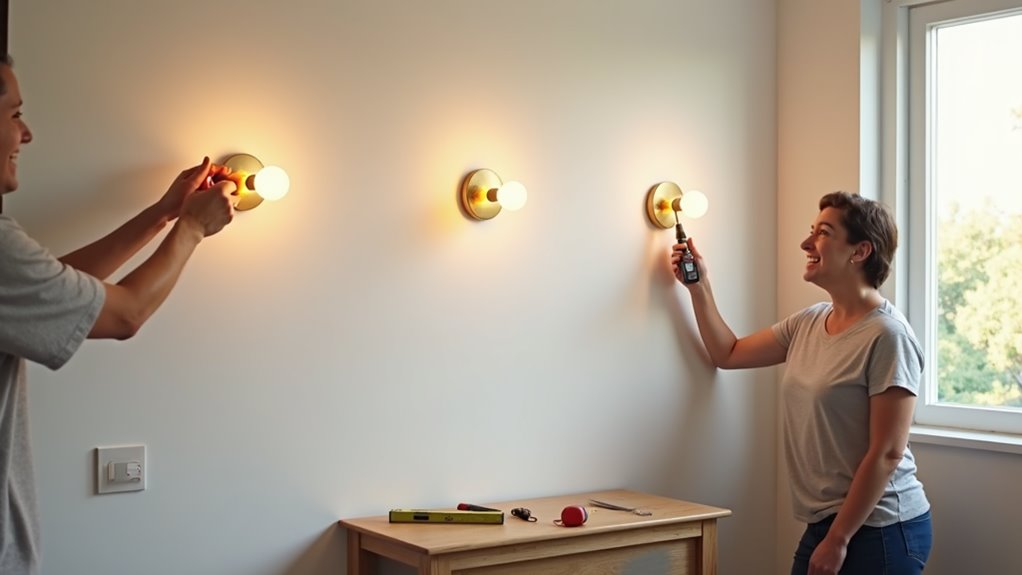
Installing wall sconces without wiring involves several steps for a stylish lighting upgrade. Begin by understanding wireless sconce options and gathering necessary tools. Prepare your chosen sconce and light source, ensuring proper placement on the wall. Securely mount the sconce and select the right location for optimal lighting. Choose effective puck lights, particularly battery-operated options, and utilize adhesive mounting techniques. Lastly, maintain battery health for longevity. Discover techniques and tips for seamless installation as you explore further.
Key Takeaways
- Choose battery-operated or rechargeable sconces to avoid wiring, ensuring easy installation and mobility for renters.
- Use adhesive mounts or hook-and-loop strips for easy fixture attachment without damaging walls.
- Measure and mark desired heights of sconces (60-72 inches) for optimal visibility and alignment.
- Utilize level tools to ensure sconces are aligned perfectly before securing them in place.
- Select puck lights with dimming features to customize the ambiance according to your preferences.
Understanding Wireless Sconce Options

Exploring wireless sconce options opens up a world of convenience for homeowners seeking stylish lighting solutions without the hassle of wiring.
These versatile fixtures use various battery types, either disposable or rechargeable, offering extended life and eco-friendliness. While disposable battery-operated sconces may seem convenient, they can lead to annual battery costs that significantly add up over time. Additionally, battery-operated wall sconces are an ideal choice for renters, as they do not require hardwiring and can be easily repositioned. With innovative designs from brands like House of Troy and Cocoweb, battery-powered options ensure ease of installation with no hardwiring required.
With light output ranging from 100 to 250 lumens, homeowners can choose from different color temperatures, including warm white and adjustable hues.
Many sconces feature dimming options, allowing for customizable ambiance.
Smart features such as home integration and motion sensors enhance functionality, enabling automatic activation and voice control.
Installation flexibility is a key benefit, with easy mounting options that cater to various design aesthetics and usage scenarios, making wireless sconces ideal for any space in the home.
Gathering Supplies & Tools

To successfully install wall sconces without wiring, a well-curated selection of tools and components is essential. It is important to choose wall sconce fixtures that not only complement the intended decor but also accommodate battery-operated puck lights effectively. Additionally, having the right measuring and fastening tools will streamline the installation process and ensure a secure setup. Consider battery-operated design options like those from Cocoweb Tru-Slim for seamless integration without the need for wiring.
Essential Tools Needed
Gathering the right tools and supplies is essential for installing wall sconces without wiring. First, one needs measurement and marking tools like a tape measure, pencil, and level to ensure precision in placement.
Using painter’s tape can help outline the mounting locations damage-free. For alternative mounting, adhesive strips and frame hangers provide secure options without drilling.
Light sources such as puck lights, which are battery-operated, can be easily attached with hot glue or super glue. Preparation tools like cleaning cloths enhance adhesive grip, while a step ladder ensures accessibility.
Additionally, optional tools such as a screwdriver and wall anchors can facilitate installation if drilling is necessary. These tools collectively support the effective mounting of decorative fixtures.
Choosing the Right Sconce
Selecting the right wall sconce can greatly enhance the ambiance and aesthetics of a space while ensuring practicality in installation. With a wide style variety ranging from vintage styles to modern designs, one can seamlessly integrate sconces into existing décor.
Material choices, including metal and glass, contribute to the overall look and feel of the room. Different ambiance effects can be achieved through adjustable brightness control and light direction, allowing for personalized settings.
Installation options like battery-operated, rechargeable, or plug-in sconces provide flexibility and convenience. By considering these aspects, homeowners can ensure aesthetic harmony while obtaining stylish lighting solutions that fit their needs, enhancing both form and function in their living spaces.
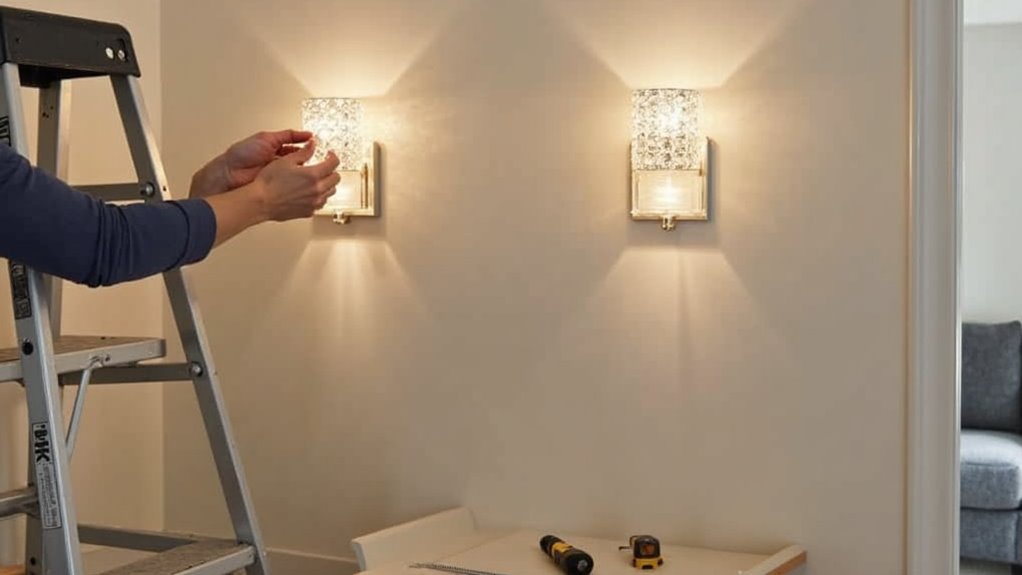
Preparing the Sconce & Light Source
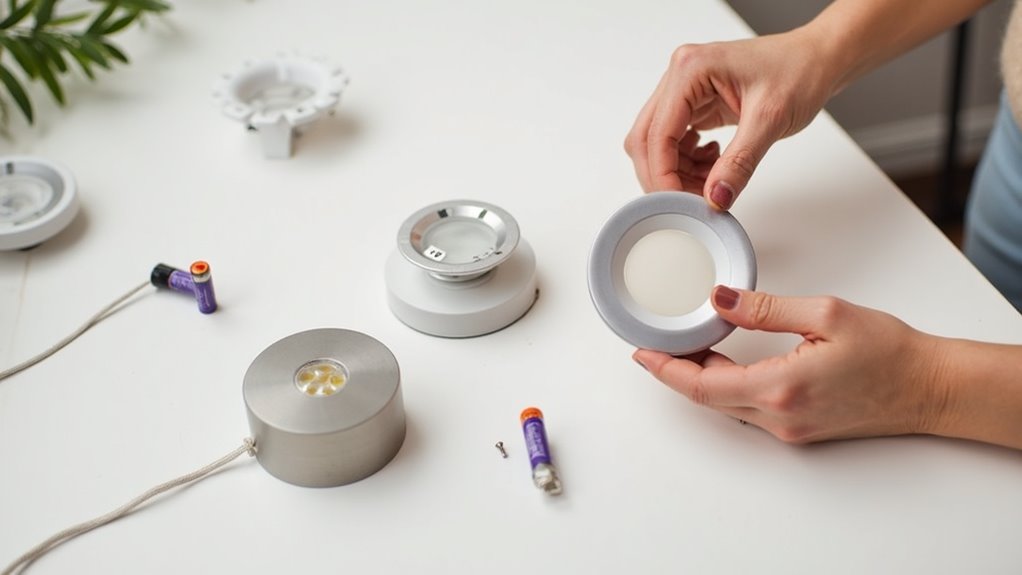
Preparing the sconce and light source involves careful consideration of several factors to ensure a successful installation. Selecting the right sconce design is crucial; opting for sconces with wide, opaque shades can effectively conceal battery-operated light source options like puck lights. Deeper shades or enclosed styles not only hide the light source better but also provide ample surface area for secure attachment. Battery-operated puck lights, around 2.5 inches in diameter, are popular choices, especially those that feature remote control functionality. For added convenience, rechargeable LED bulbs can also be considered. When attaching the light source, ensure it is secure and centered for optimal illumination without appearing overly visible, contributing to a polished look in the final setup. Plug-in wall sconces can serve as decorative elements within spaces, adding both style and functionality.
Planning Placement & Wall Preparation
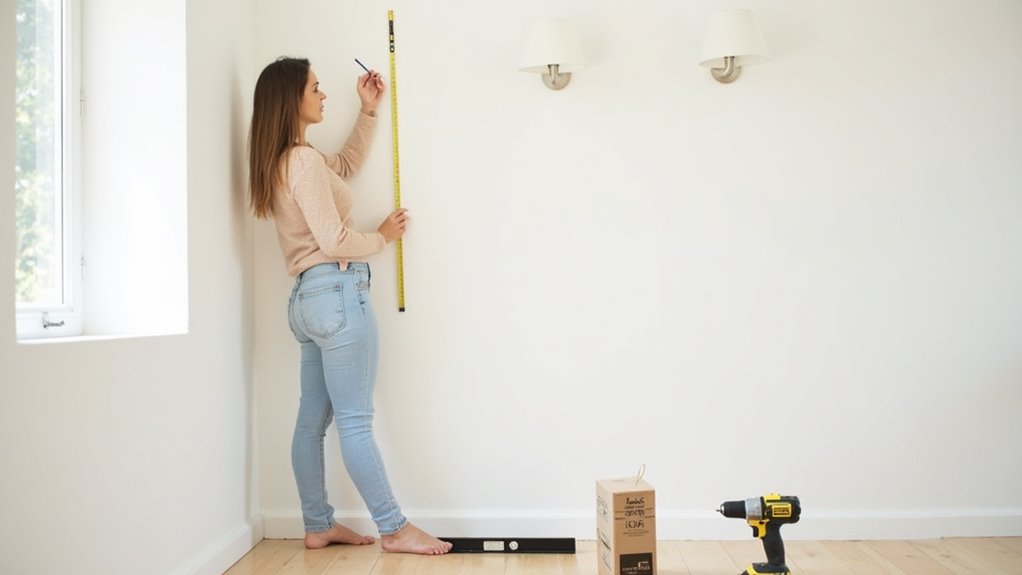
How can one ensure that wall sconces are harmoniously integrated into a space? Careful planning is essential for optimal placement. Sconces should generally be installed at a height of 60-72 inches from the floor, with eye-level consideration for minimizing glare. Room-specific heights are important; for instance, bedside sconces should be about 5 feet high. When it comes to sconce spacing, a guideline of 6 to 10 feet between fixtures aids in creating a balanced ambiance without overcrowding the wall. Before installation, wall markings should be made for precise locations, utilizing measuring tools and a level to ensure accurate alignment. Employing a placement template can also facilitate visual testing before final commitments to wall markings. Consider integrating smart lighting innovations like voice and app-based controls for added convenience and personalization in your space.
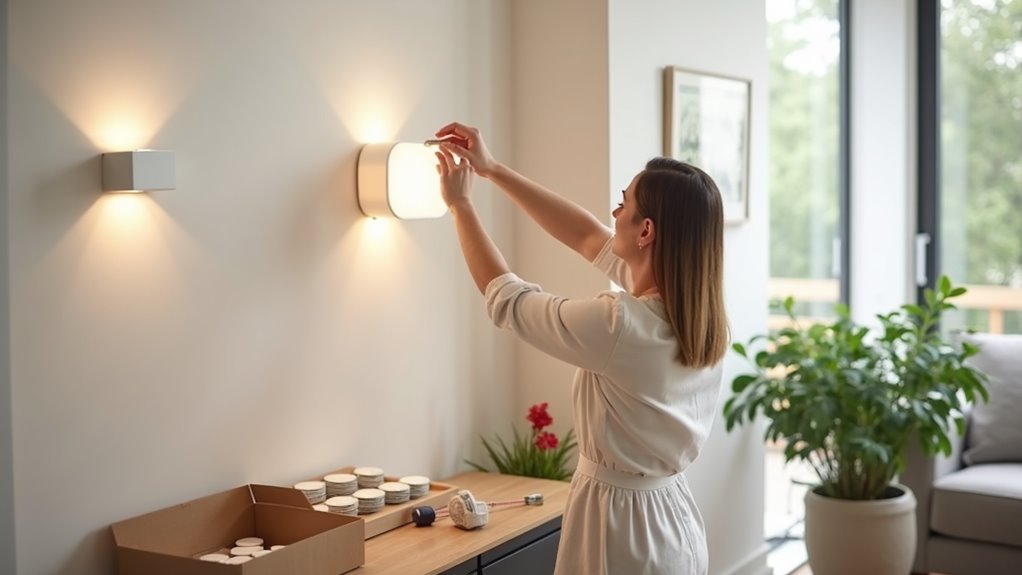
Mounting the Sconce to the Wall
Mounting a wall sconce requires careful consideration of installation methods to ensure stability and aesthetic appeal.
This process typically involves either adhesive techniques for lighter fixtures or a screw-in approach for more substantial units, while also prioritizing level alignment.
Adhesive Mounting Techniques
Adhesive mounting techniques offer a practical solution for installing wall sconces without the need for wiring, making them an appealing choice for various home decor projects.
The success of this method relies on adhesive durability and weight consideration. It’s essential to choose adhesive strips or pads rated for the specific weight of the sconce, particularly for those over three pounds, which may require additional strips.
Surface preparation is critical; a clean, dry, and smooth wall enhances adhesion effectiveness. After marking the desired placement, the adhesive should be applied carefully according to instructions, ensuring a firm bond.
Once positioned, holding the sconce in place for at least thirty seconds allows for optimal adherence, paving the way for a secure installation.
Screw-In Installation Steps
Installing wall sconces can also be accomplished through screw-in methods, providing a sturdy and reliable option compared to adhesive techniques.
First, choose the desired sconce height, typically between 60-72 inches from the floor. Mark the screw holes according to the mounting plate, ensuring even spacing for multiple sconces.
Next, drill pilot holes using an appropriate bit size based on the anchor specifications. For walls without studs, select suitable anchors based on weight and wall type.
Attach the mounting bracket securely, ensuring it is level. Finally, align the sconce fixture with the bracket, securing it with screws provided.
Before finishing, check battery types for the light source, inserting them as necessary for optimal performance.
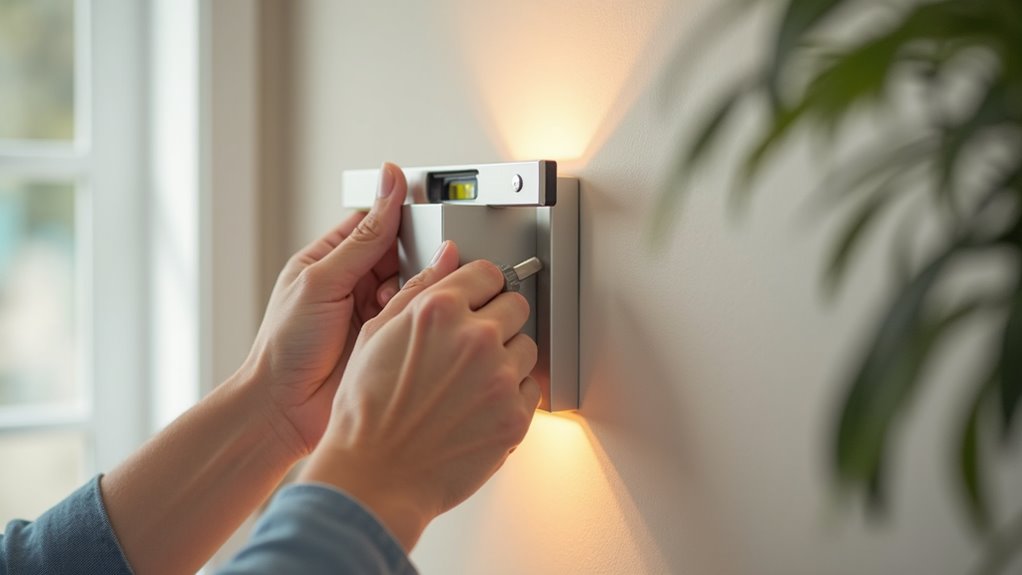
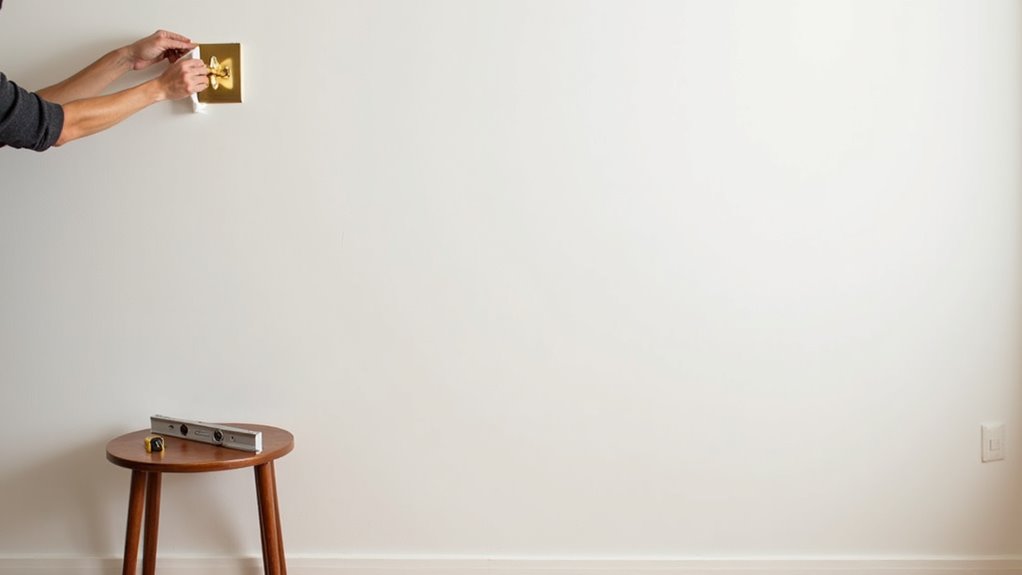
Ensuring Level Alignment
Achieving level alignment is crucial for ensuring that wall sconces enhance the aesthetic appeal of a space rather than detract from it.
To accomplish perfect level positioning, one should utilize effective alignment techniques:
- Use a Leveling Tool: Employ a spirit level or laser level to verify horizontal or vertical alignment during installation.
- Measure Twice: Accurately measure heights and distances to maintain spacing between multiple sconces.
- Mark with Precision: Use a pencil to indicate drilling points based on the bracket’s placement, ensuring all marks are level.
- Final Inspection: Before securing screws, step back to ensure the sconces appear aligned from various angles, making adjustments if necessary.
Following these guidelines will contribute to a polished and visually appealing installation outcome.
Final Touches & Operation
The final touches and operational setup of wall sconces are crucial to ensure optimal performance and aesthetics.
After securely mounting the main sconce body, all shades and decorative elements should be attached per manufacturer instructions, ensuring even illumination if using puck lights.
For battery-operated sconces, fresh batteries must be inserted or rechargeable bulbs fully charged.
Testing functionalities—such as dimming and motion sensors—is essential, along with making final adjustments to brightness and color settings for the desired ambiance.
Cord management should be addressed for plug-in sconces, ensuring the cord is suitably routed and secured.
Finally, conducting safety checks confirms that the fixture is stable and operational, enhancing both function and style in the intended space.
Choosing the Right Location for Your Sconces
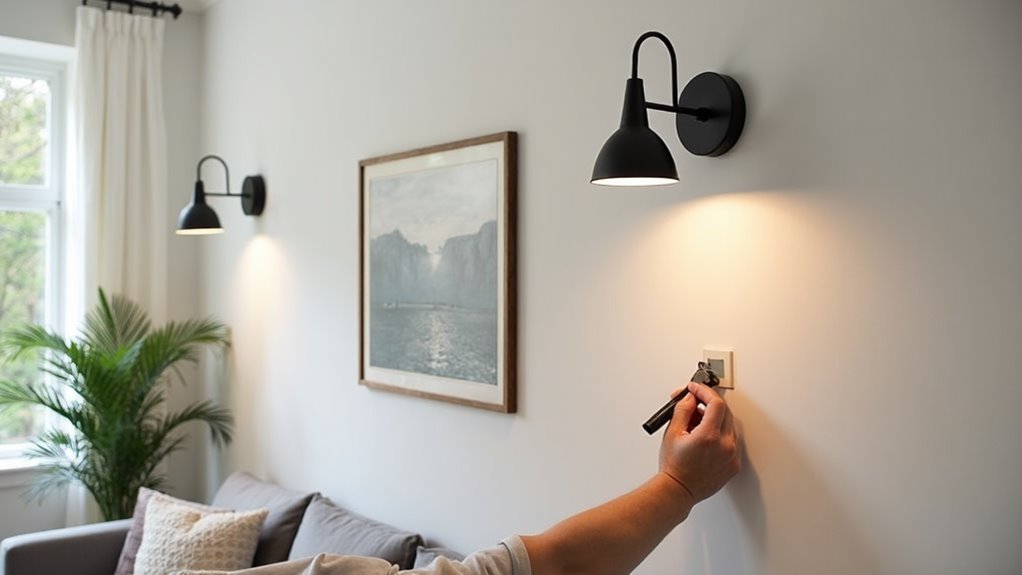
Choosing the right location for wall sconces involves careful consideration of both height and purpose.
Mounting sconces at a height of 60 to 72 inches ensures optimal visibility and aesthetics, while the intended use—whether for task lighting, ambiance, or decoration—dictates their placement within the space.
Thoughtful positioning can enhance functionality and elevate the overall design of the room.
Ideal Height Measurement
Determining the ideal height for wall sconces is crucial for both functionality and aesthetic appeal in a space. Proper placement ensures optimal mounting while enhancing the room’s overall design.
Adhering to these ideal height guidelines can help achieve the perfect look:
- Standard Range: Install sconces 60-72 inches from the floor.
- Room-Specific Adjustments: For bedrooms, aim for 60 inches beside the bed; in bathrooms, flanking mirrors should be positioned at 60-66 inches.
- Ceiling Height Influence: In rooms with vaulted ceilings (over 10ft), mount sconces at 66-72 inches.
- Avoid Obstructions: Maintain at least 6 inches from window frames and ensure sconces do not interfere with door swings or furniture.
Following these measurements can optimize both style and functionality.
Lighting Purpose Consideration
Effectively considering lighting purposes enhances both functionality and ambiance in a space. The placement of wall sconces can significantly improve lighting ambiance and fixture functionality. Properly positioning sconces allows for decorative and practical applications, ensuring areas are well-lit and inviting.
| Room Type | Sconce Placement |
|---|---|
| Living Rooms | Highlight features; near seating for cozy lighting |
| Bedrooms | Beside the bed for reading; accessible switches |
| Bathrooms | Flank mirrors for balanced grooming light |
| Hallways/Entryways | Space evenly for guidance and elegance; flank doorways |
Tips for Selecting the Best Puck Lights
Selecting the best puck lights involves considering several key factors that can enhance both functionality and aesthetics in a space.
Choosing the ideal puck lights requires careful consideration of key factors that improve both functionality and aesthetics.
When choosing puck lights, one should focus on:
- Puck Light Types: Different types exist, including battery-operated and rechargeable options, catering to various needs.
- Brightness & Lumens: For task lighting, aim for 200-400 lumens; for accent lighting, 100-200 lumens suffice.
- Color Temperature: Select between warm white (2700K-3000K) for cozy settings and cool white (5000K-6500K) for energizing environments.
- Control Features: Consider models with remote controls and dimming capabilities for added convenience and versatility.
These factors will greatly influence the overall effectiveness and appeal of the selected puck lights.
Techniques for Secure Adhesive Mounting
After choosing the appropriate puck lights to enhance the desired ambiance, the next step involves ensuring their secure mounting on the wall.
Proper wall surface preparation is essential for achieving adhesive durability. Begin by cleaning the walls thoroughly and allowing them to dry completely. For glossy finishes, lightly sand the area to improve adhesion.
When selecting adhesives, consider those rated for the weight of the sconce and suitable for the wall surface type. Applying adhesive strips evenly and ensuring firm pressure enhances the bond.
For heavier sconces, use multiple strips for weight distribution. Adhering to manufacturer instructions regarding application and cure times will significantly bolster the installation’s success, ensuring a long-lasting hold on the wall.
Maintenance and Battery Management for Sconces

To ensure optimal performance and longevity of battery-operated sconces, regular maintenance and efficient battery management are essential. Incorporating the following maintenance tips can significantly enhance battery care:
- Regular Cleaning: Dust sconces regularly with a microfiber cloth, ensuring lenses and sensors remain unobstructed.
- Timely Battery Replacement: Change batteries promptly when lights dim to maintain brightness levels.
- Usage Awareness: Utilize timers or dimmers to minimize energy consumption, extending battery life.
- Inspect Battery Compartments: Check for leaks during battery replacement to prevent damage and ensure safe operation.
Bài viết cùng chủ đề:
How to Make Wall Sconces Step by Step
Top 5 Best Wall Sconces for Enhancing Your Home Theater
Top 10 Sconces to Enhance Your Wall Decor and Space
5 Wall Sconces Without Electricity for Home Decoration
Top 3 Decorative Wall Sconces to Enhance Your Dining Room
3 Stunning Sconces for Bedroom Wall Decor