Replacing a round LED ceiling light involves five key steps. First, ensure safety by disconnecting power at the breaker and confirming with a voltage tester. Second, remove the old fixture by unscrewing the cover and disconnecting wires. Third, prepare the new LED fixture by inspecting components and assembling as instructed. Fourth, wire it correctly, matching black, white, and green wires with wire nuts. Fifth, mount securely and test for illumination. Explore further for detailed guidance.
Key Takeaways
- Disconnect power at the breaker and confirm wires are de-energized using a voltage tester.
- Remove the old fixture by unscrewing parts and disconnecting wires.
- Prepare the new LED fixture by assembling components per manufacturer’s instructions.
- Connect matching wires (black, white, green) securely with wire nuts.
- Mount the fixture to the ceiling box and test for proper illumination.
Ensuring Safety Before Starting
Before beginning the replacement of a round LED ceiling light, it is critical to prioritize safety by disconnecting the power supply.
Safety first! Always disconnect the power supply before replacing a round LED ceiling light to prevent any electrical hazards.
Power Disconnection starts with turning off the correct breaker at the circuit panel, using a non-contact voltage tester to confirm the fixture wires are de-energized.
If circuits are unlabeled, multiple breakers may need to be switched off, and tape should be placed over the wall switch to prevent accidental activation.
For added caution, consider shutting off the main power if uncertainty persists. Having a helper on a second ladder can be invaluable for support during the process, especially when handling wire connections during wire connections.
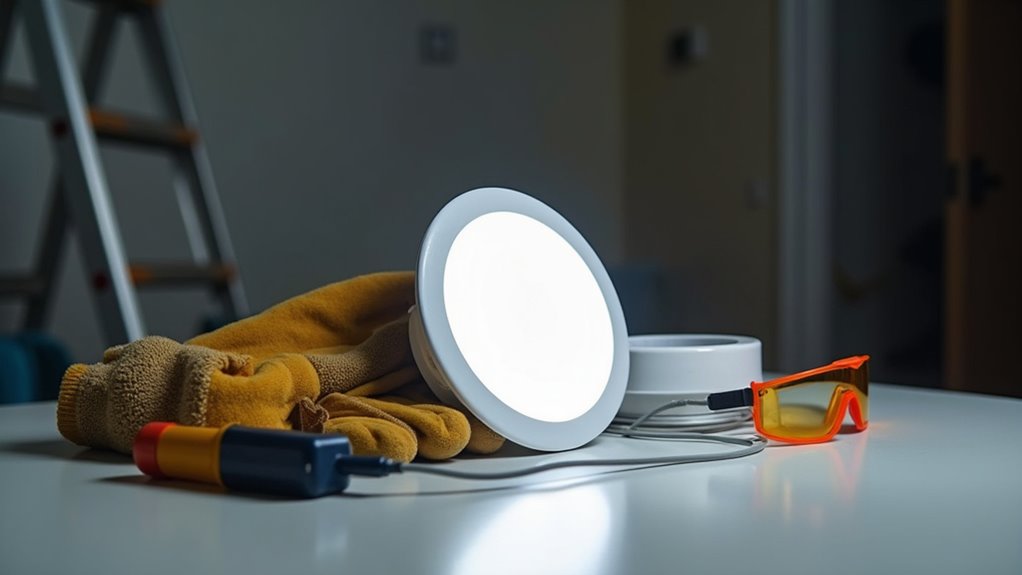
Additionally, Equipment Inspection is essential before proceeding.
Ensure all tools are designed for electrical work, featuring insulated handles, and verify a stable ladder is in place.
Safety gear, including glasses and gloves, must be worn.
A work light should be ready for visibility.
Remember that working on live circuits can lead to severe risks like electrical shocks or fires severe risks.
Finally, review the manufacturer’s instructions and local codes to confirm compliance and prepare for a safe installation process.
Taking Down the Old Light Fixture
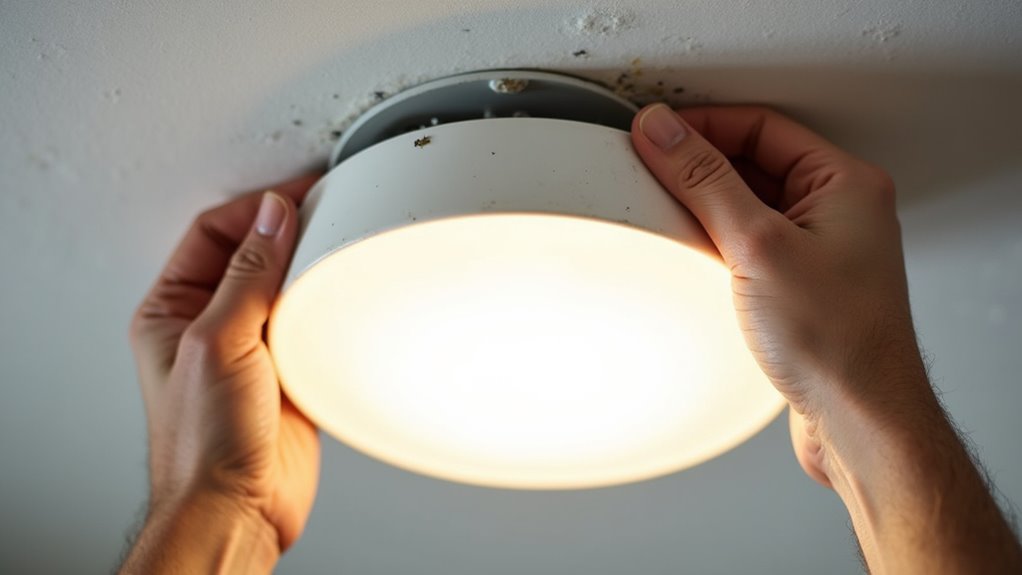
Begin the process of taking down the old round LED ceiling light by carefully preparing the workspace and ensuring all safety measures are in place. Confirm the power is off before proceeding. Start by identifying the fixture type and removing the cover or globe, either by unscrewing a finial, releasing clips, or twisting the glass counter-clockwise. Loosen any small screws on the base if present.
Next, extract the bulbs, handling them with care to avoid breakage, and note the Bulb Types for potential reference. Set them aside safely. Then, support the fixture base while removing mounting screws, noting the Screw Sizes for future use. Carefully lower the base to access wires, unscrew wire nuts, and disconnect all wires, including the ground. Finally, gently lower the fixture, avoiding excessive force, and inspect the ceiling electrical box for stability or damage.
Getting the New LED Fixture Ready
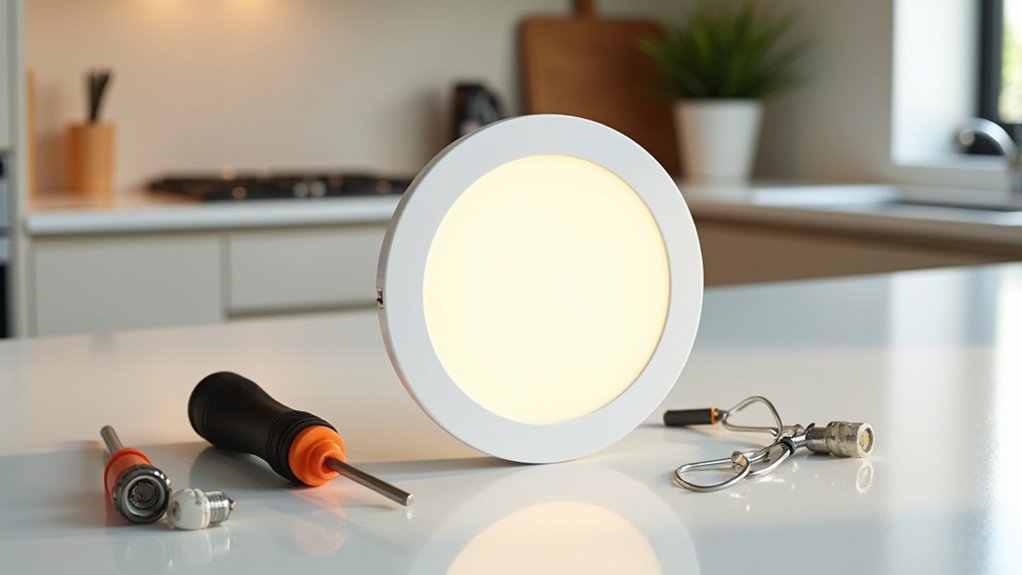
Start the preparation of the new round LED ceiling light by carefully unboxing the fixture and inspecting all components for damage or missing parts. Following Packaging Tips, open the box gently to avoid harming delicate parts, and cross-check items against the manufacturer’s list. Examine the fixture for cracks or defects and confirm all hardware is included. Review the installation guide for specific requirements and safety precautions.
Next, apply Assembly Techniques by laying out parts on a clean surface and following the manufacturer’s sequence for pre-assembly. Prepare the mounting bracket, ensuring compatibility with the ceiling box, and gather tools like screwdrivers and ladders. Verify the fixture’s voltage and weight support. Below is a breakdown of key preparation steps:
| Step | Action | Check |
|---|---|---|
| Unbox | Open carefully | No damage to parts |
| Inspect | Check fixture and hardware | Match packing list |
| Review Guide | Read instructions | Note specific requirements |
| Assemble | Connect components | Secure without over-tightening |
| Prepare Hardware | Set up bracket | Confirm box compatibility |
Wiring the New Light Correctly
Ensure the safety of the wiring process by first turning off the power at the circuit breaker corresponding to the ceiling light.
Prioritize safety by switching off the power at the circuit breaker linked to your ceiling light before starting any wiring tasks.
Confirm the circuit is de-energized using a voltage tester on the existing wires, ensuring zero electrical current.
Wear protective gear, such as gloves and eyewear, during the procedure.
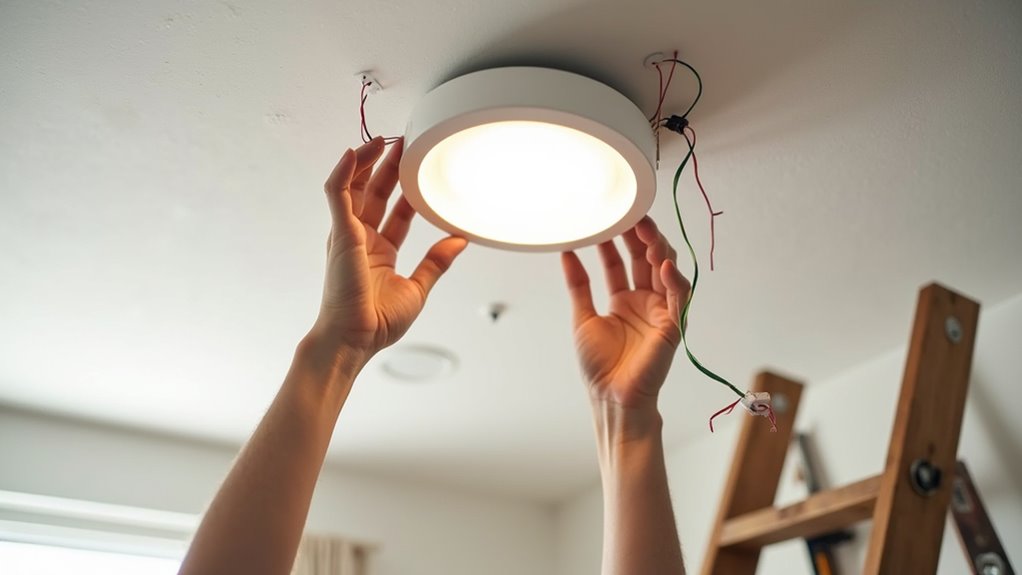
Next, identify the wire colors in the ceiling box and on the new fixture.
In the US, black is live, white is neutral, and green or bare copper is ground.
In the UK or internationally, brown (or red) is live, blue (or black) is neutral, and green/yellow striped is earth.
Match corresponding wires accordingly.
For connection methods, strip about 3/4 inch of insulation from wire ends if needed.
Pair matching wires, twist bare ends together, and secure with a wire nut by turning clockwise.
Tug gently to confirm a firm connection, then tuck wires neatly into the electrical box.
Mounting and Testing the New Fixture
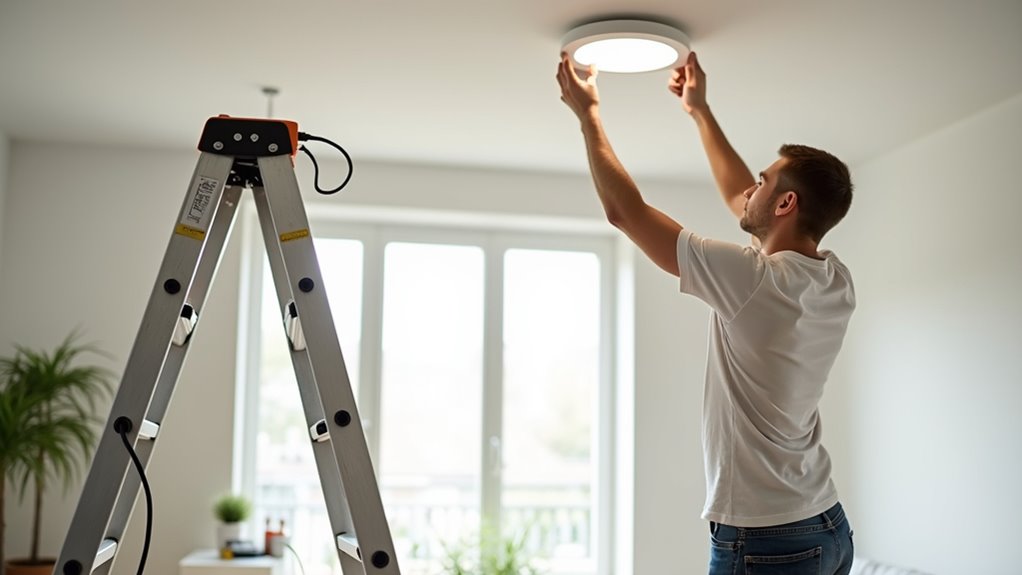
After completing the wiring process, the next step involves mounting the new LED ceiling light fixture to the electrical box and testing its functionality.
Begin by selecting the appropriate mounting bracket based on fixture weight and ceiling box type.
Secure the bracket to the box with screws, ensuring it sits flush.
Align the fixture base with the bracket’s screws or tabs, following Alignment Tips to match slots precisely, then tighten to secure it against the ceiling.
Conduct Stability Tests by verifying the fixture is level and not wobbly.
Attach the cover or shade if separate, ensuring a flush fit.
Before testing, confirm all wire connections are secure and no wires are pinched.
Restore power at the breaker, turn on the switch, and check for proper illumination.
If flickering or buzzing occurs, disconnect power and re-inspect connections to ensure safe operation.