If you’re looking to brighten up your living room with recessed lighting, it’s important to plan carefully for both functionality and aesthetics. Recessed lighting offers a clean, modern look that adds depth and warmth to your space, but proper placement is key to achieving the right ambiance. To begin, sketch out your living room layout, considering architectural features such as windows, walls, and furniture. Next, define your lighting goals: do you need general lighting, accent lighting for artwork, or task lighting for reading areas?
Once you’ve mapped out your space and lighting needs, select the appropriate fixtures and energy-efficient bulbs. At NaturalLightLiving.com, we provide expert insights on how to choose the right recessed lights based on ceiling height, room size, and desired light distribution. The next steps include marking fixture locations, ensuring proper spacing, and safely wiring the fixtures. By following a clear plan, you can achieve a beautifully lit living room that enhances both functionality and atmosphere. Let’s walk through how to place recessed lighting in your living room step by step!
Key Takeaways
- Assess the room layout: Measure the dimensions of the space and consider fixed elements like walls, windows, and furniture.
- Define lighting goals: Decide whether you need general illumination, accent lighting, or task lighting to create the right atmosphere.
- Choose the right fixtures: Select recessed lights that suit your ceiling type and desired light spread. Ensure compatibility with dimmer switches for flexibility.
- Mark fixture locations: Properly space fixtures for optimal coverage, avoiding direct placement near walls or furniture.
- Follow safety protocols: Always turn off power, wear protective gear, and adhere to electrical codes for a safe installation process.
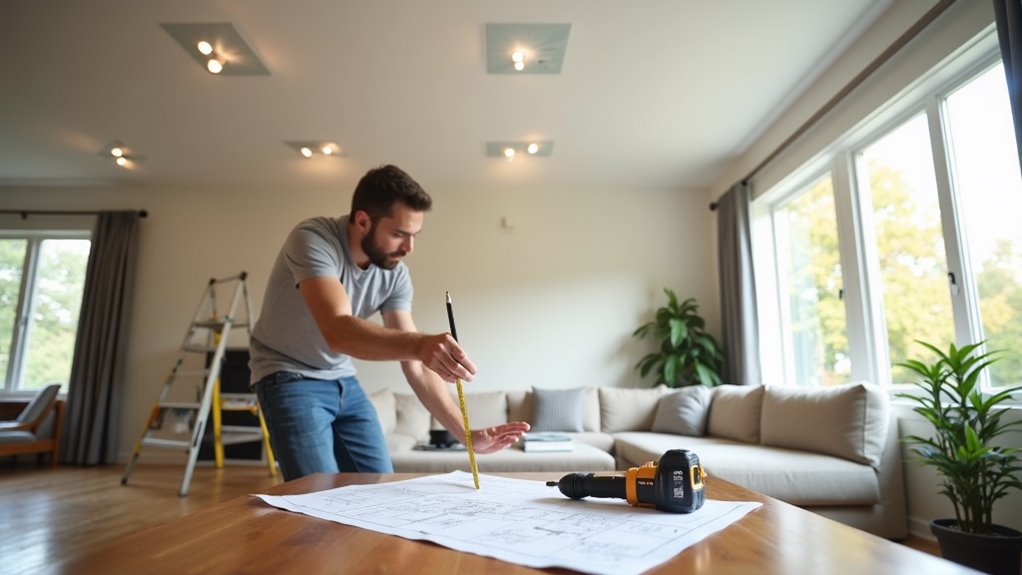
Sketch Your Living Room Layout

To effectively plan the placement of recessed lighting in a living room, it is essential for homeowners to begin by sketching a detailed layout of the space. Accurate living room dimensions must be noted, including length, width, and ceiling height, as these factors influence light placement. By using graph paper or digital tools, homeowners can create a scale representation of the area.
It’s crucial to mark architectural features such as beams and alcoves and indicate fixed elements like windows and doors. Identifying existing electrical outlets and any ceiling obstructions ensures a comprehensive understanding of the space. This methodical approach allows for effective planning of lighting zones and maximizes both functionality and aesthetic appeal.
Additionally, assessing room dimensions accurately will help in determining the necessary number of lights needed for optimal illumination. Ensuring proper lighting spacing from walls will also help avoid shadows that may detract from the room’s overall ambiance.
Determine the Purpose of Recessed Lighting

While planning recessed lighting for a living room, it is essential to clearly define its intended purpose, as this will inform the overall design and placement strategy.
Lighting goals may include general illumination, providing consistent brightness throughout the space, enhancing the openness of large rooms. Task lighting can be strategically positioned to focus on specific activities, illuminating areas like reading nooks and workspaces, thereby reducing eye strain.
Accent lighting serves to highlight architectural features or artwork, adding depth and visual interest. Additionally, ambiance creation through dimmable options allows for mood adjustments, while thoughtful space enhancement contributes to a minimalist aesthetic.
Recognizing these different functions ensures a harmonious integration of lighting elements in the living room design.
Select the Right Lights and Materials
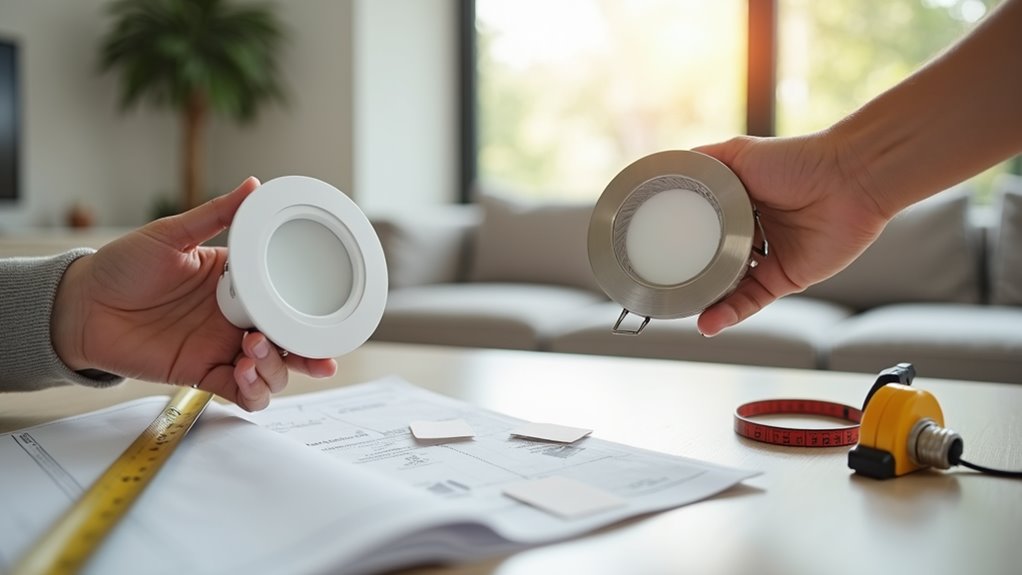
Selecting the appropriate lights and materials for recessed lighting in a living room involves a careful evaluation of various options to ensure both functionality and aesthetic appeal.
Choosing the right recessed lighting is crucial for enhancing both the functionality and aesthetics of your living room.
The choices available can significantly influence the overall ambiance. Consider these essential elements:
- Fixture Types: Choose from new construction, remodel, and IC-rated versions, depending on your ceiling conditions and insulation clearance.
- Trims: Select from baffle, reflector, or adjustable trims, impacting light distribution and reducing glare.
- Light Bulb Selection: Opt for energy-efficient LEDs with the desired color temperature, ensuring compatibility with dimmer switches for mood control.
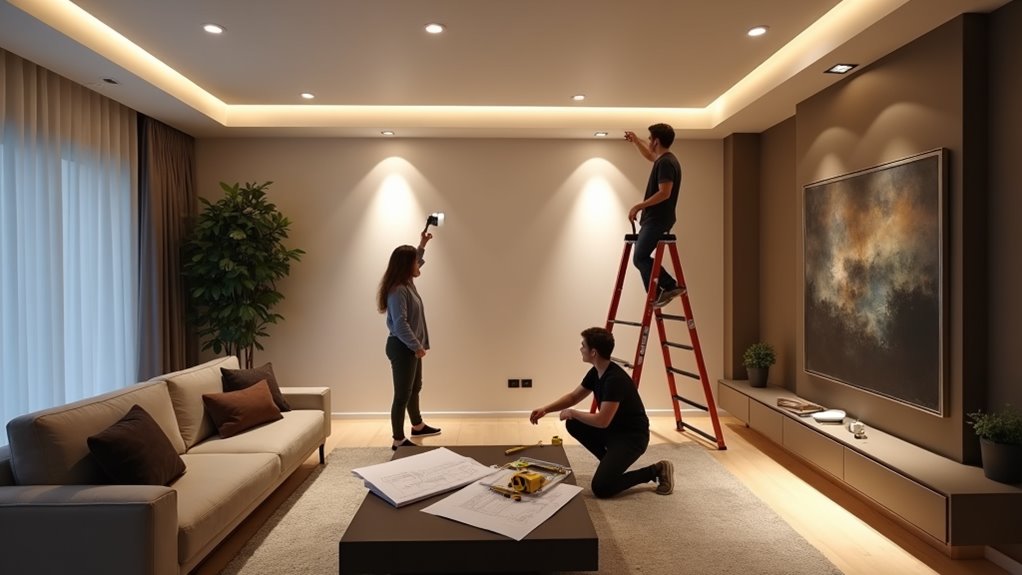
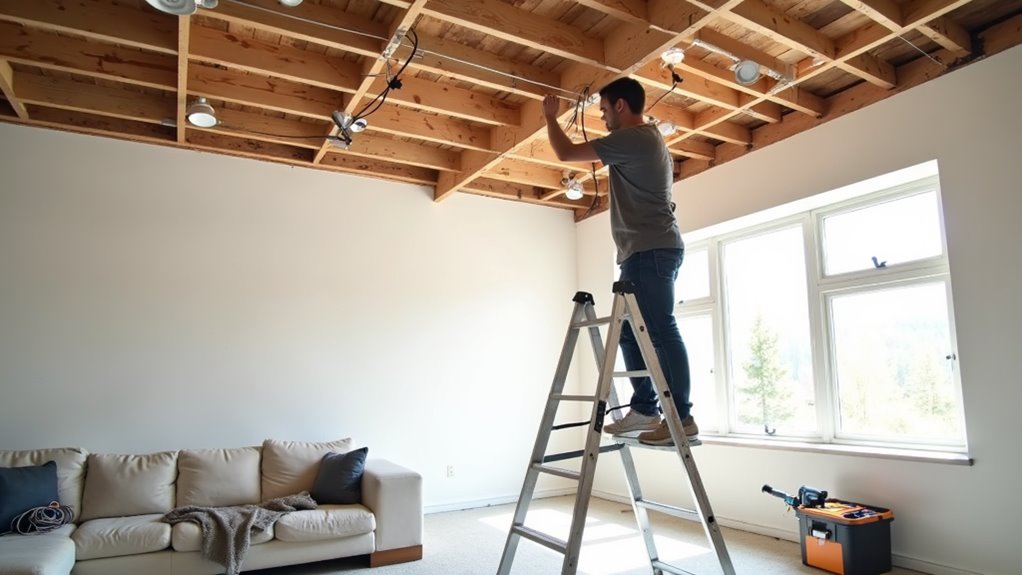
Gather Tools and Safety Gear

Gathering the necessary tools and safety gear lays the foundation for a successful recessed lighting installation in a living room. Essential tools include a drill with a hole saw for precise cutting, a drywall jab saw or utility knife for adjustments, and a tape measure to ensure proper spacing. Organized tool storage enhances efficiency during installation.
Safety preparation is paramount; safety goggles protect the eyes from debris, while gloves guard hands against sharp edges and electric components. A voltage tester ensures wires are de-energized, minimizing shock risk. A stable ladder provides secure access, and dust masks prevent inhalation of particles.
Having a first-aid kit on hand allows for quick responses to minor mishaps, ensuring a safe working environment throughout the project.
Prepare for Installation
After assembling the necessary tools and ensuring safety measures are in place, the next step involves preparing for the installation of recessed lighting in the living room. Proper preparation is crucial to ensure effective lighting placement and compliance with electrical considerations.
- Define the primary lighting objectives: general, task, or accent.
- Sketch the living room layout, incorporating furniture, focal points, and natural light sources.
- Assess ceiling conditions for obstructions, and verify existing wiring can support added fixtures.
This foundational work allows the homeowner to strategically place recessed lighting, optimally enhancing the aesthetic appeal and functionality of the space while adhering to electrical safety standards.
Careful planning before installation streamlines the process and promotes a successful outcome.
Cut Holes and Run Wires
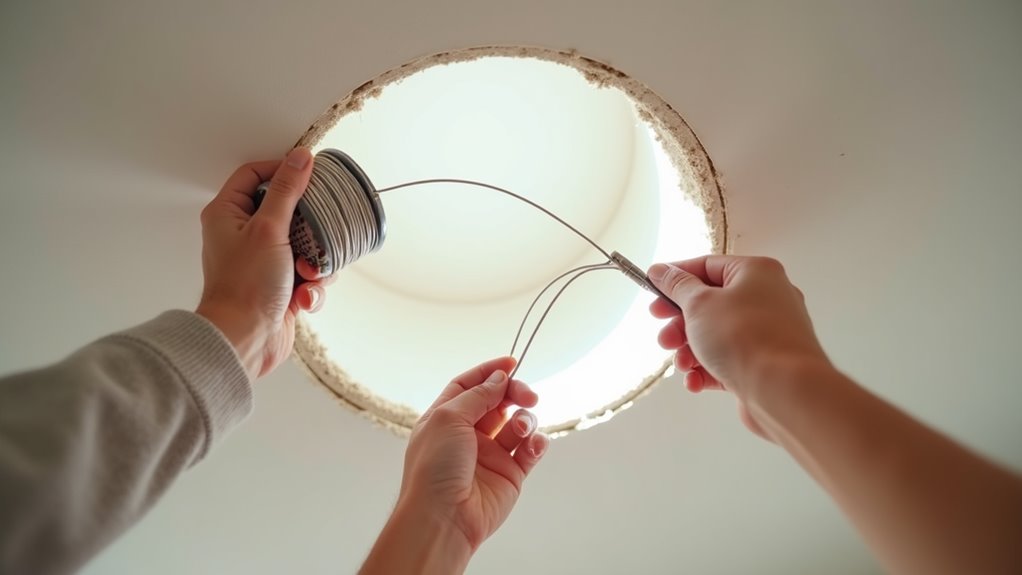
Cutting precise holes and running wires plays a critical role in the successful installation of recessed lighting in a living room.
First, using a stud finder, locate joists or obstructions before marking outlines with the fixture’s template. A small pilot hole facilitates the identification of any hidden barriers.
For hole cutting, employ a hole saw or drywall saw, ensuring to cut slowly to avoid damage.
When wire routing, utilize fish tape to pull electrical cable between fixtures, leaving 18 to 24 inches of slack at each opening. Secure cables to joists with staples, and maintain a safe distance from joist edges.
If obstructions arise, adjust the layout accordingly, ensuring compliance with safety protocols throughout the process.
Wire and Install Your Fixtures
To successfully wire and install recessed lighting fixtures, one must begin by ensuring that power is turned off at the circuit breaker, verified with a voltage tester.
The following steps outline the installation process:
- Open the recessed light’s junction box, stripping 1/2-inch of insulation from the wire ends, specifically the wire types: black (hot), white (neutral), and green/bare (ground).
- Connect like-colored wires using UL-approved wire connectors. Ensure secure, tight connections, considering electrical tape for additional safety.
- Push the fixture housing into the ceiling opening, securing it with its clips for a snug fit.
With the appropriate fixture options chosen, these steps facilitate safe wiring and installation, essential for effective recessed lighting in your living room.
Conclusion
Properly placed recessed lighting can transform your living room, providing not only illumination but also enhancing the overall ambiance of the space. By assessing your layout, defining your lighting needs, and following the correct installation steps, you can achieve a well-lit room that highlights its best features. Whether you’re aiming for a cozy reading nook or accentuating architectural details, recessed lighting gives you the flexibility to create a tailored lighting solution.
With the right planning, you’ll avoid common installation mistakes and ensure that your recessed lighting installation meets safety and aesthetic standards. At NaturalLightLiving.com, we help homeowners like you navigate the process of installing recessed lighting, ensuring that every step is smooth and successful. Ready to get started?
Check out our comprehensive guides and expert tips to place recessed lighting in your living room with confidence and style.