
Learning how to make wall sconces is one of the most rewarding ways to elevate a room’s ambiance while adding a personal, handcrafted touch to your décor. Whether you’re building a pair of sleek wooden sconces or experimenting with creative materials like repurposed metal, the process is both approachable and customizable.
Before you pick up any tools, it’s essential to understand the purpose of your lighting ambient, task, or accent as well as the ideal height and placement for the effect you want to achieve. From cutting and sanding wood to wiring a plug-in cord or installing a hardwired fixture, each step offers room for creativity and precision.
At NaturalLightLiving.com, we believe that well-designed lighting transforms a home, and DIY sconces are a perfect example of how craftsmanship and function can work together beautifully. Whether you’re a beginner or an experienced maker, this guide will help you craft sconces that reflect your style and illuminate your space with intention.
Video introduction DIY WALL SCONCES
Key Takeaways
- Choose the right lighting purpose ambient, task, or accent before designing.
- Select wood or metal and prep pieces with careful cutting and sanding.
- Use safe wiring methods for plug-in sconces, including proper cord management.
- Follow essential safety steps when hardwiring, like turning off power and securing connections.
- Get creative with designs using reclaimed materials or custom elements.
Planning Your Wall Sconces
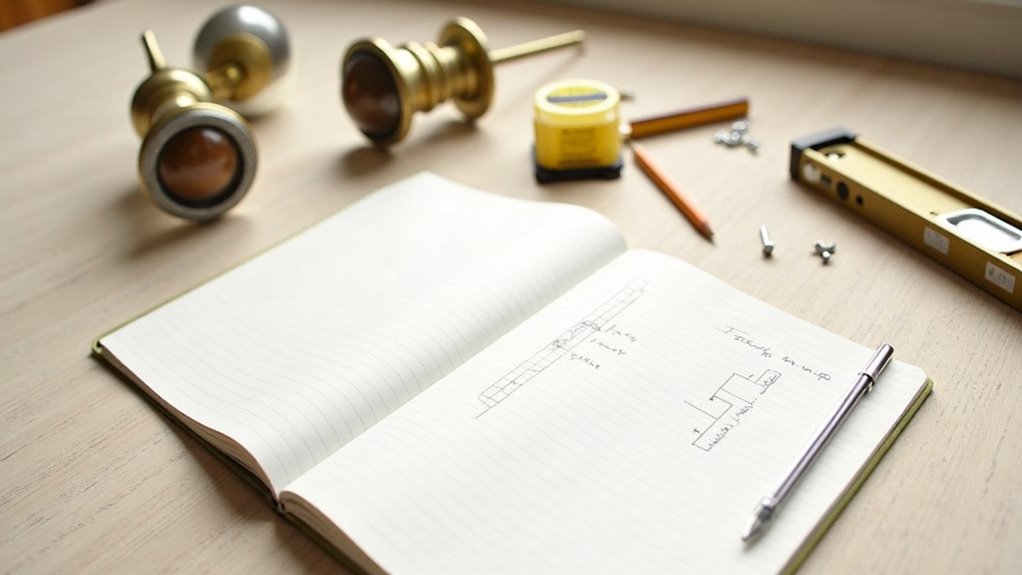
How does one begin the journey of creating exquisite wall sconces? It starts with a deliberate understanding of their purpose and function within a space.
Whether intended for ambient, task, or accent lighting, the chosen sconce styles should harmonize with specific activities, such as reading or showcasing artwork. Height placement is crucial; sconces must be positioned 60-72 inches from the ground, adapting to settings such as bathrooms or hallways. Proper spacing of sconces can also help maintain consistent lighting and avoid harsh shadows. In addition, ensuring that sconces harmonize with the overall design scheme enhances the visual experience and creates a cohesive environment.
Mood and aesthetics emerge through careful selection of materials brass, glass, or fabric may be explored. Sconces inspired by movements such as Art Deco and Bauhaus can add elegance and modern flair to any space.
Lastly, considerations surrounding power sources and wiring must align with the design vision, enabling seamless integration into existing environments.
Thoughtful planning yields sconces that elevate both form and function, enhancing any setting’s ambiance.
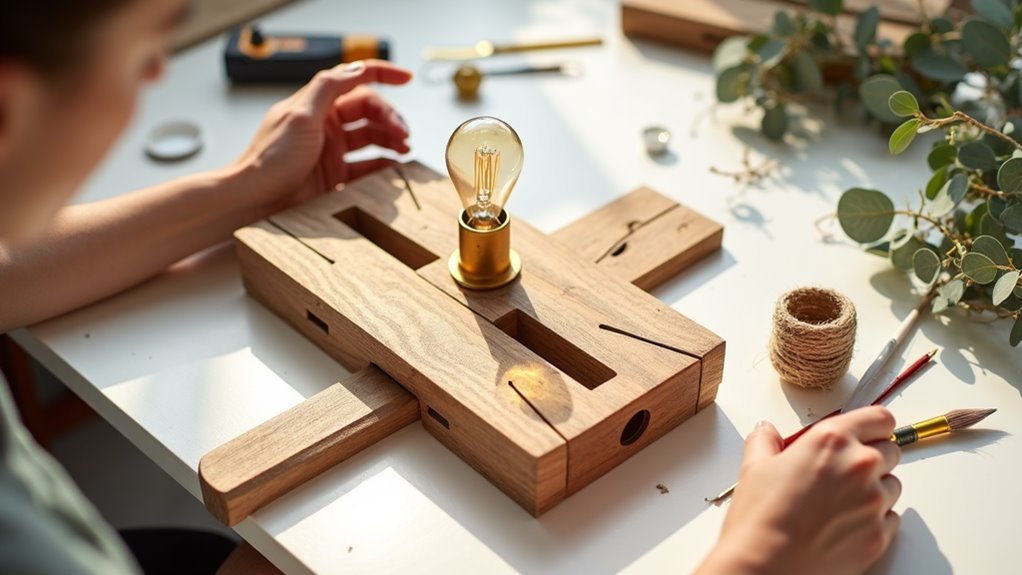
Building a Basic Wood Sconce
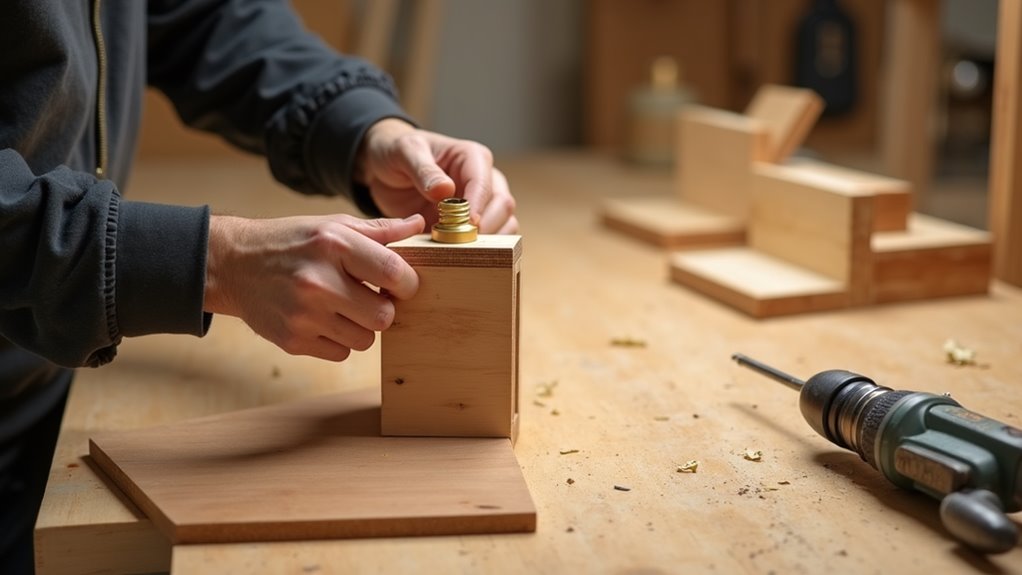
Crafting a basic wood sconce begins with an artistic vision transformed into tangible form. The choice of wood types, such as pine, oak, walnut, or reclaimed wood, influences the sconce’s aesthetics, allowing for various design styles to emerge.
| Wood Type | Ideal Design Style |
|---|---|
| Pine | Rustic |
| Oak | Traditional |
| Walnut | Modern |
| Reclaimed Wood | Eclectic |
After selecting and preparing the wood, precise cutting and assembly create a sturdy structure. Employing techniques like sanding, gluing, and clamping ensures durability. Finishing touches with stains or paints enhance beauty, culminating in a stunning sconce ready to illuminate any space.
Creating a Plug-In Sconce
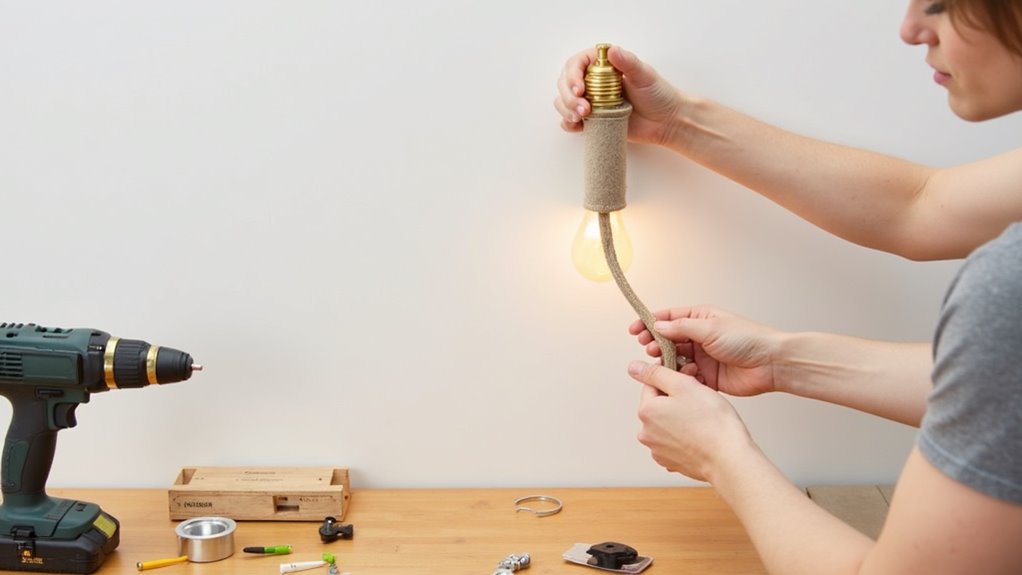
After mastering the art of building a basic wood sconce, exploring the world of plug-in sconces opens up new possibilities for illuminating spaces with style and functionality. The essential materials include a lamp cord with an integrated switch, a keyless socket, and a creatively designed sconce body crafted from wood, metal, or repurposed items. To ensure safe wire connections, one must strip and securely twist together the lamp cord and socket wires, using wire nuts and electrical tape for added safety. Careful attention to cord management is essential, as the cord must exit the sconce unobtrusively.
With numerous plug-in options available, individuals can customize their sconces while enhancing their interiors with warmth and elegance. Modern plug-in sconces often feature adjustable arms and dimmable options, allowing users to create customizable and energy-efficient lighting solutions.
Installing a Hardwired Sconce
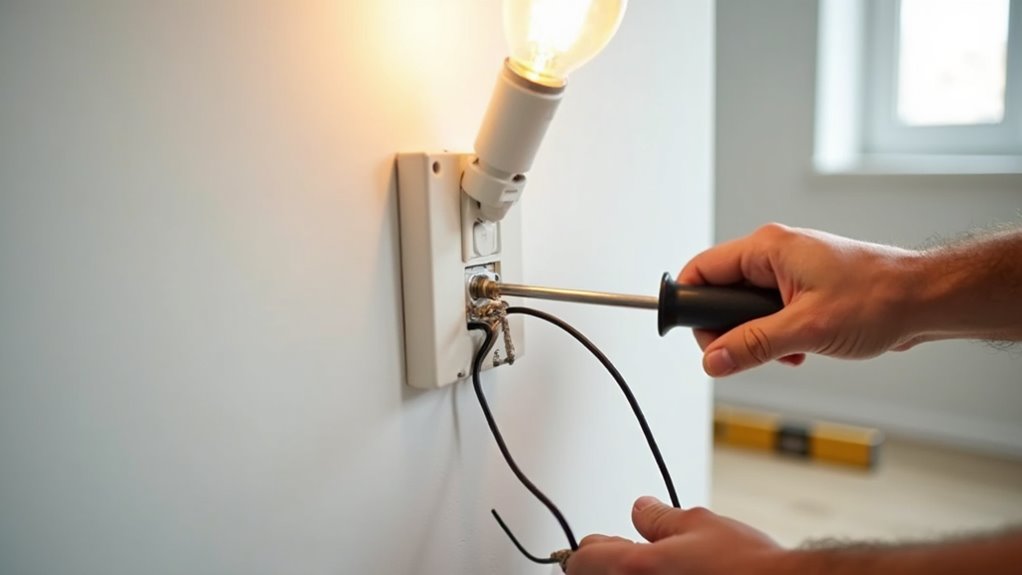
Transforming a wall’s aesthetic appeal with the elegance of a hardwired sconce requires careful preparation and attention to detail. First, ensuring wiring safety is paramount: power must be turned off and tested prior to any work. Ideal fixture height should be around 60-66 inches from the floor, enhancing visual harmony in the space. After removing any old fixtures, the new mounting bracket is affixed securely, ensuring it’s level.
The wiring connections ground, neutral, and hot must be made with precision, employing wire nuts and electrical tape for added security. Once everything is tucked away neatly into the electrical box, the sconce is attached, light bulbs installed, and power restored. The final touch is testing for functionality, promising beauty and safety. Consider using sustainable materials to ensure an eco-friendly installation and to align with a commitment to environmental responsibility.
Creative DIY Sconce Ideas
While the allure of hardwired sconces can elevate a space’s elegance, the world of DIY provides an opportunity to infuse personal creativity into wall lighting.
Exploring unique designs involves using budget-friendly materials, such as upcycled creations and unexpected textures for a glamorous touch.
Here are four creative DIY sconce ideas:
- Dollar Store Glam Sconces: Use picture frames and solar stakes with embellishments for glamour.
- Basket & Woven Sconces: Form structures from baskets, integrating puck lights for a cozy feel.
- Wooden Box Sconces: Craft three-sided boxes that harmonize with existing decor.
- Ceiling Medallion Sconces: Pair plug-in lamps with ornate medallions for a playful juxtaposition.
These projects not only beautify but also personalize any space.
Conclusion
Mastering how to make wall sconces opens the door to a world of personalized lighting and home décor possibilities. Whether you’re experimenting with rustic wood, modern metal, or clever upcycled finds, the ability to customize every detail ensures your finished piece feels uniquely yours. As you refine your skills measuring accurately, wiring safely, and finishing each surface with care you’ll gain confidence not just in the technical steps, but in your creative vision as well. DIY sconces can reinvent a hallway, bedroom, or reading nook, proving that small projects can make a big impact.
If you’re ready to take the next step, explore additional tutorials, inspiration boards, and material guides at NaturalLightLiving.com, where we’re committed to helping makers bring beautifully lit spaces to life. Start crafting today and enjoy the warm, inviting glow of sconces you designed yourself.